Top 5 Benefits of Hiring a Professional Composite Deck Contractor
If you are planning to add a deck to your home, you will want to consider hiring a pro. Here are 5 benefits of hiring a professional composite deck contractor.
Concrete Patios vs Wood & Composite Deck Installation
Are you considering an outdoor project? Do you want a concrete patio, wood deck, or composite deck? Precision Decks & Patios can help you decide.
5 Top Outdoor Living Features for Ultimate Comfort
Want to do more with your deck or patio? Check out these top outdoor living features, including outdoor kitchens. Contact Precision Decks & Patios.
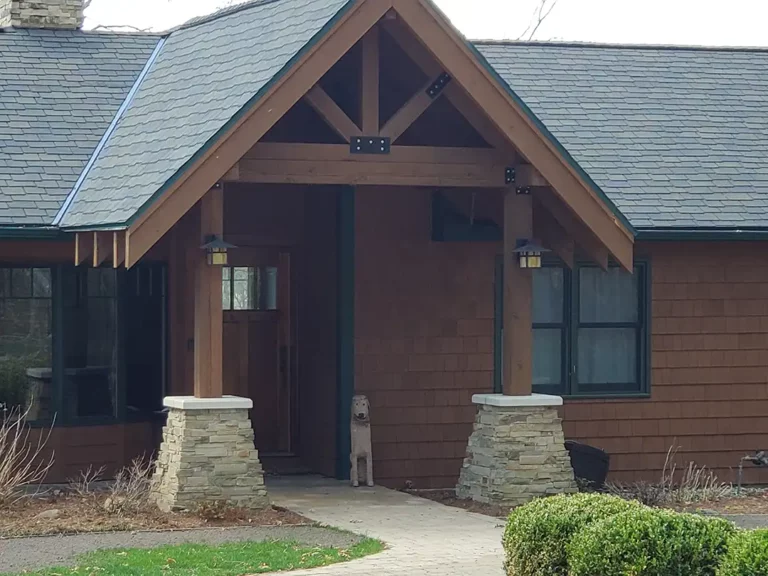
7 Porch Design Ideas and Tips for Your Home
Considering a porch for your home? Precision Decks & Patios can help you design and create your dream porch. Here are 7 porch design ideas and tips to explore.
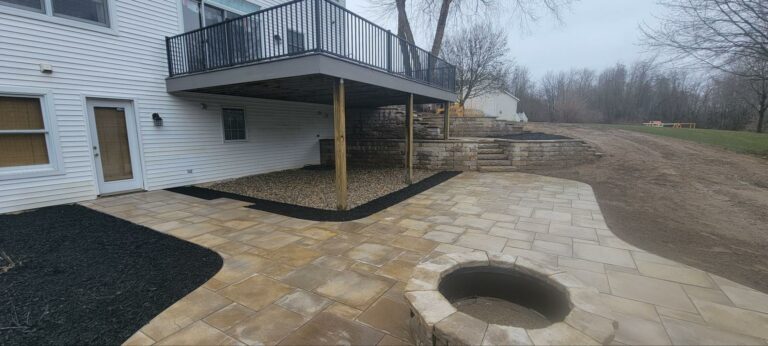
Patios and Pavers Trends 2024: Patterns and Perfect Outdoor Spaces
The concept of outdoor living and landscape design is ever-changing. In recent years, patios have transformed from basic concrete slabs accompanied by simple card tables
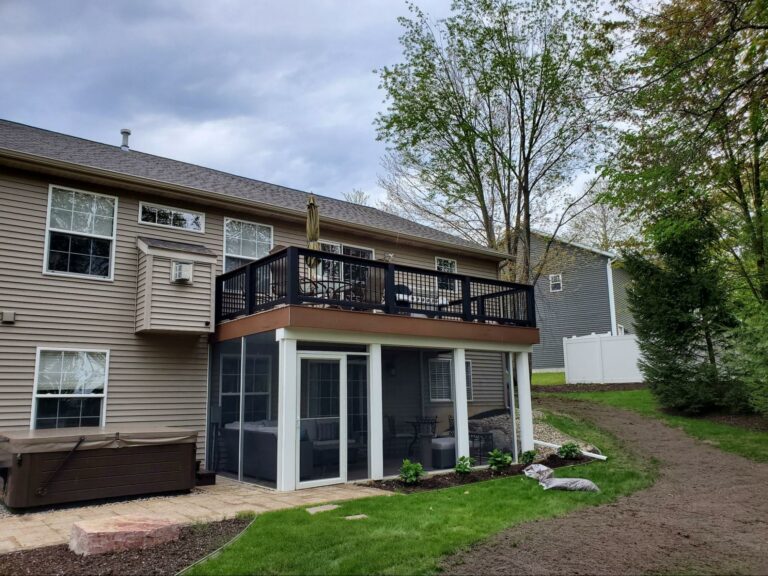
Custom Deck Design Ideas to Create Your Perfect Outdoor Living Space
When it comes to maximizing your outdoor space, customizing your deck can make all the difference. By tailoring your deck to your specific needs and

Protecting Your Deck Throughout the Winter
To ensure that your deck is ready for the summer, you need to do all that you can to protect it during the harsh cold

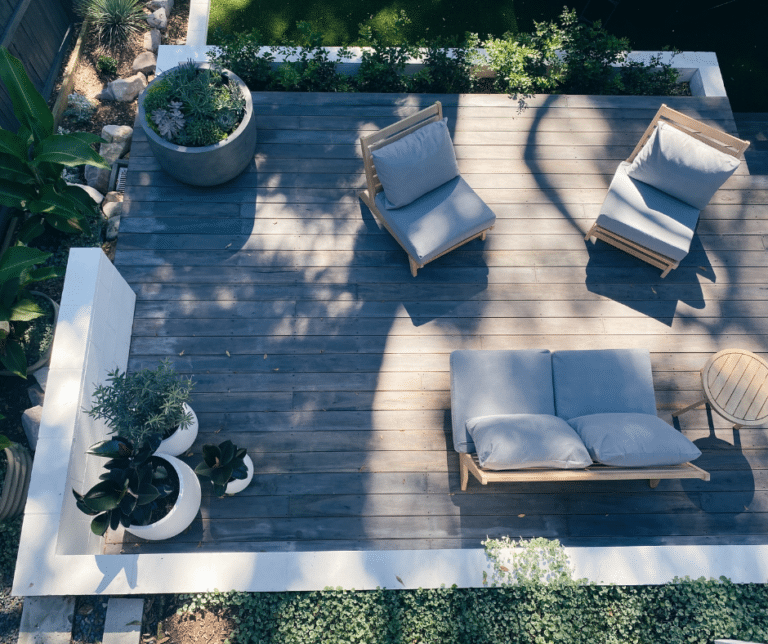
Choosing the Right Outdoor Furniture
Enjoying the beautiful weather outdoors is made better on your new deck, but that enjoyment is nothing unless you and your family can be comfortable.

Creating a Budget For Your Remodeling Project
Adding onto your home has been a dream for years, and you want to make that dream a reality. With the addition of a deck
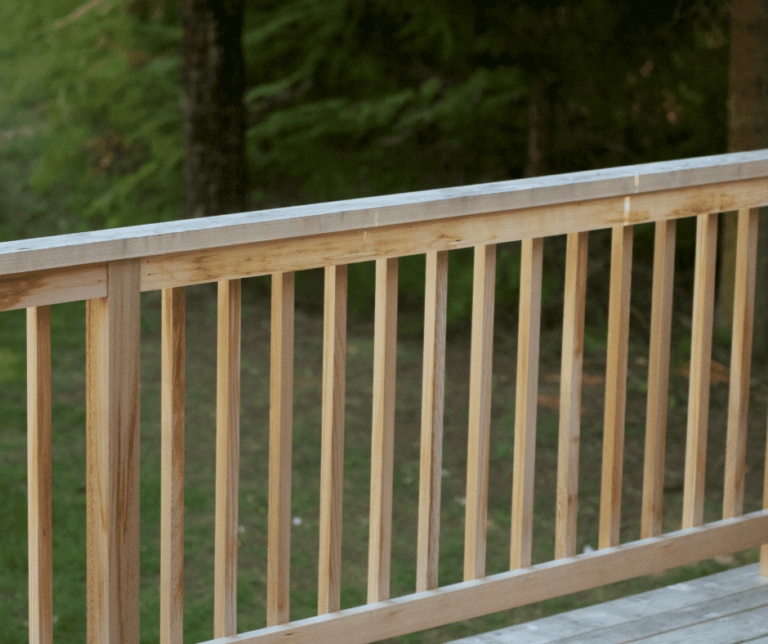
Comparing Styles of Deck Railing
Before all else, deck railing is in place for safety. The railing is a structural barrier to protect you, your family, or your pets from
Improve the Appearance of Your Deck With Proper Landscaping
After your new deck is installed, there is still a bit more you can do to help boost the look of your outdoor space. Of
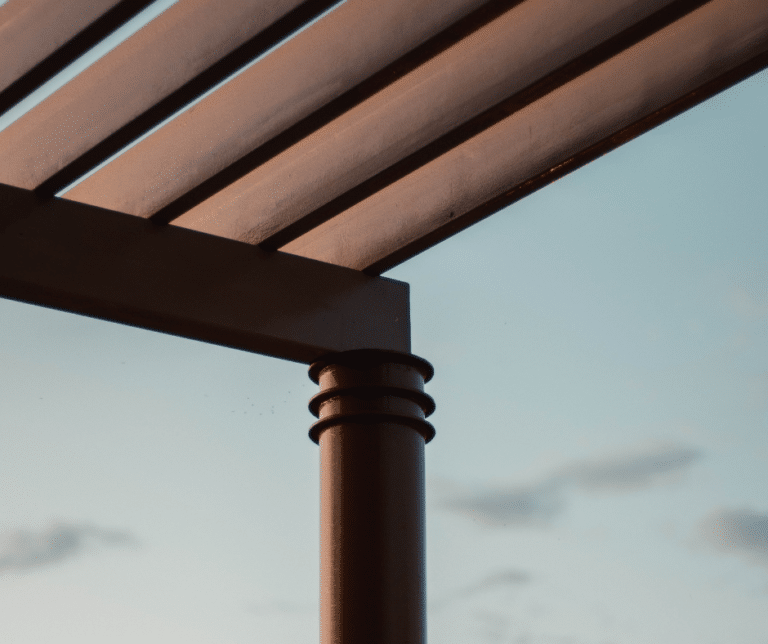
A Pergola Can Add a Lot to Your Outdoor Space
Your new deck is a big hit amongst your friends and family, as it has become the go-to gathering place this summer. Cool summer nights